
Acrylic paint wash is a simple yet powerful painting technique that creates beautiful, translucent layers of color. By diluting acrylic paint with water (and optionally flow improver), you can achieve effects similar to watercolors — but with the versatility and vibrancy of acrylics.
Whether you’re a beginner or an experienced artist, this guide will show you exactly how to create depth, soft transitions, and glowing effects in your paintings.
What Is an Acrylic Paint Wash?
An acrylic wash is made by thinning acrylic paint with water or a flow-improving medium to create a transparent, veil-like layer.
When you layer these washes, colors interact and blend visually, producing unique depth and atmosphere in your artwork.
Common uses include:
● Glazing for subtle color shifts
● Adding depth and shadow
● Creating soft background gradients
● Simulating a watercolor effect on acrylic-friendly surfaces
● You can apply acrylic washes to canvas, paper, wood panels, or mixed-media projects.

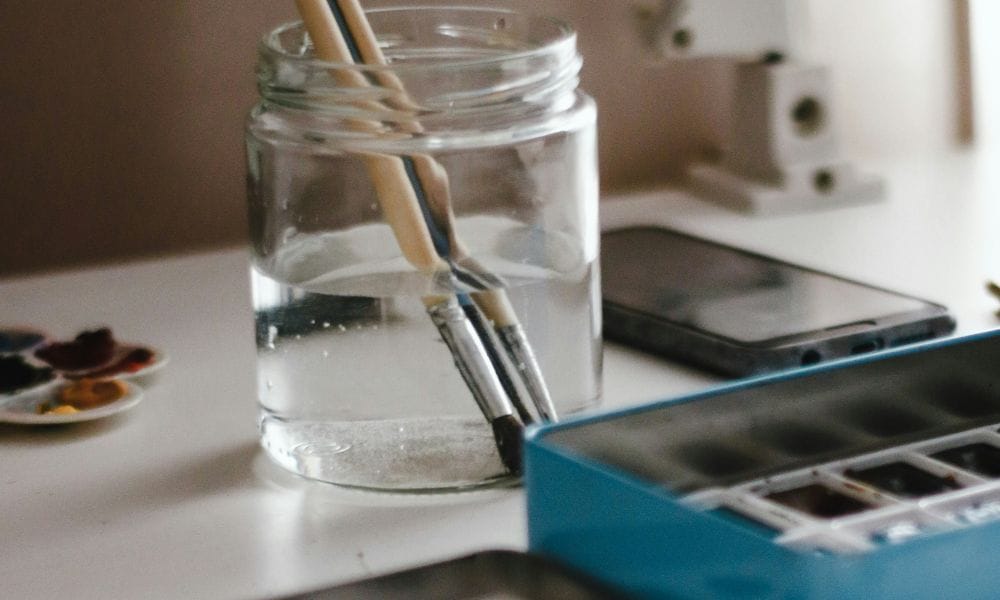
Materials You’ll Need
Before you start, gather these essentials:
● Acrylic paints (student or artist grade)
● Paintbrushes (flat for large areas, round for details)
● Palette or mixing surface
● Water container
● Clean water
● Flow improver (optional, for smoother washes and fewer brush marks)
● Painting surface (canvas, watercolor paper, wood panel, etc.)
Pro Tip: Flow improver breaks surface tension so your washes spread evenly without streaks — especially useful for large areas.

Step-by-Step: How to Create an Acrylic Paint Wash
Step 1: Prepare Your Workspace
● Choose a well-lit, comfortable area.
● Protect your table with newspaper or a cloth.
● Make sure your surface is clean and dry.
Step 2: Choose Your Colors
● Pick harmonious colors for smooth blends or contrasting colors for dramatic effects.
Remember: Washes are translucent — your underlayers will show through.
Step 3: Mix the Perfect Wash
● Squeeze a small amount of acrylic paint onto your palette.
● Add clean water and/or a few drops of flow improver (check bottle for mixing ratio).
Mix well with your brush.
● Test on scrap paper — the paint should flow easily.
💡 Experiment:
○ For soft transparency: 1 part paint : 3 parts water
○ For smooth coverage: 1 part paint : 2 parts water + a drop of flow improver
Step 4: Apply Your First Layer
● Use smooth, even strokes for backgrounds.
● Work in thin layers to avoid muddy colors.
● Let each layer dry completely before adding the next.
Step 5: Build Depth with Layers
● Apply later washes to shift colors and create depth.
● Experiment with different brush sizes for texture variation.
● Try glazing medium with flow improver for extra-rich transparency.

Pro Tips for a Flawless Acrylic Wash
○ Start light — you can always add more pigment.
○ Add flow improver for streak-free application.
○ Use a spray bottle to mist your surface for a dreamy, watercolor-like effect.
○ Avoid overworking — too much brushing can lift earlier layers.
What Do Acrylic Washes Do
Acrylic paint washes can:
○ Soften harsh edges
○ Create luminous skies and backgrounds
○ Add subtle shadows and atmospheric effects
○ Layer beautifully with other acrylic techniques
Now that you know how to thin and layer acrylic paint washes — with or without flow improver — try:
○ Painting a sunset sky with layered gradients
○ Adding a soft background wash to a floral piece
○ Using washes to unify a color palette in a mixed-media project


2 Responses
I am quite a beginner. When I mix with water I get bobbles on the paper. I’ve used mixed media, watercolour paper etc but nothing changes.
Any suggestions
Hi, from my experience the patchiness and bubbles happens when you use too much water especially if you paint over wet layers of paint! Its important to let paint layers fully dry and maybe use a flow medium to keep your paint thin and flowy without breaking into patchiness. Hope this helps!